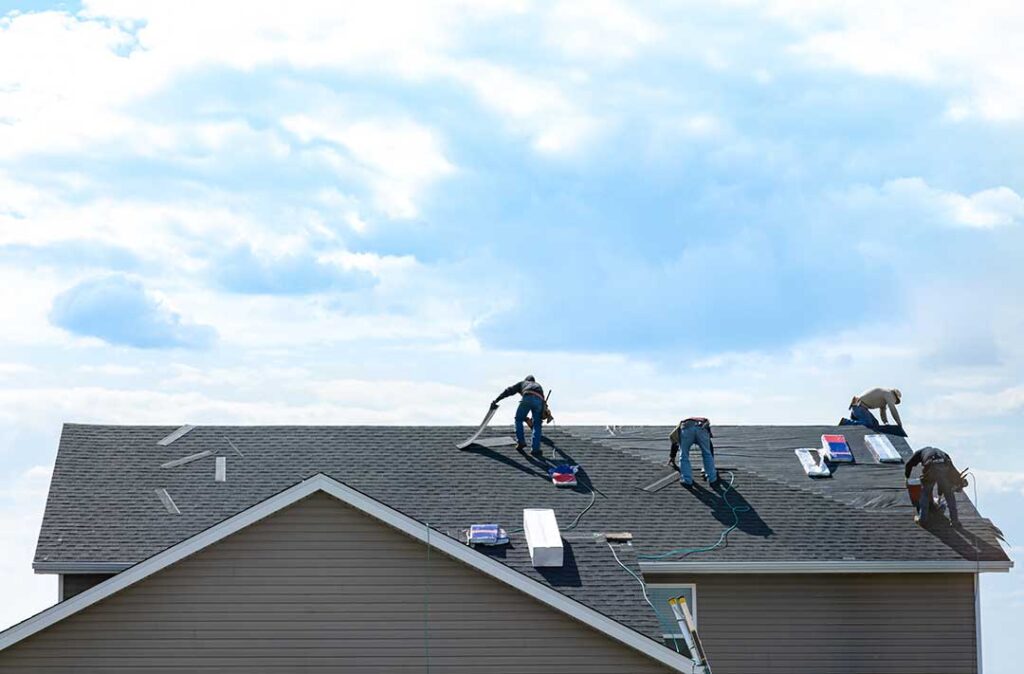
Roof penetrations are any objects or openings that pass through the roof surface, including plumbing vents, chimneys, skylights, exhaust fans, satellite mounts, electrical conduits, and rooftop equipment. Proper sealing depends less on applying a large amount of caulk and more on using correctly layered flashing that directs water around the opening.
In Fredonia, NY, roof penetrations face repeated freeze-thaw cycles, wind-driven rain, snow, ice, and occasional heavy lake-effect weather. Those conditions can expose weak details quickly, especially around older roofs and additions.
What makes a roof penetration vulnerable?
A roof penetration creates a break in the continuous water-shedding surface. Shingles or panels can carry water downhill, but the opening interrupts that path. Water may collect on the uphill side, move sideways beneath the roofing, or enter through small gaps around fasteners and flashing joints.
Common vulnerable locations include:
- Plumbing vent pipes and their rubber or metal boots
- Chimneys and masonry flues
- Skylights and roof windows
- Bathroom, kitchen, and dryer exhaust outlets
- Electrical service conduits and other small pipes
- Antenna, solar, and equipment supports
- Roof-to-wall intersections near dormers or additions
A penetration may leak even when the visible sealant looks intact. Sealant can crack, separate from metal, or conceal deteriorated flashing underneath.
Is caulk enough to seal a roof penetration?
Usually, no. Caulk is a supplemental seal, not a substitute for properly installed flashing.
The main defense should be mechanical water management:
1. A flashing component fits around or over the penetration.
2. Roofing material is installed in a shingle-like sequence so water flows over the flashing.
3. Sealant is used only where the flashing design calls for it.
4. Fasteners are placed where they will not create avoidable leak paths.
New York’s residential code requires flashing at roof openings and other penetrations in a way that prevents moisture from entering the roof or wall assembly. Plumbing vent pipes, for example, must use approved flashing to create a watertight connection at the roof line. ([codes.iccsafe.org](https://codes.iccsafe.org/content/NYSRC2025P1/chapter-9-roof-assemblies?utm_source=openai))
A bead of roof cement spread over the top of a damaged boot may slow a leak temporarily, but it generally does not correct the underlying problem.
How should a plumbing vent pipe be sealed?
A plumbing vent is normally sealed with a correctly sized vent flashing or pipe boot. The flashing should match the roof covering and be installed so water drains over it rather than behind it.
For an asphalt-shingle roof, the upper portion of the flashing is typically placed beneath the shingles above the pipe, while the lower portion remains over the shingles below the pipe. This arrangement follows the same basic principle as overlapping shingles: upper materials shed water onto lower materials.
A proper installation generally involves:
- Removing enough surrounding roofing to inspect the deck and underlayment
- Checking the pipe for movement, cracking, or improper height
- Sliding the new flashing into the correct shingle courses
- Replacing damaged underlayment or roof covering
- Using compatible fasteners and limited, appropriate sealant
- Keeping the pipe opening tight around the vent without restricting the pipe
Rubber boots can deteriorate from age, sunlight, temperature changes, and movement of the pipe. A cracked rubber collar is usually a replacement issue rather than a caulking issue.
What is the correct way to seal a chimney?
Chimneys require more than a surface bead of sealant because they intersect the roof over a wider area and may move differently from the roof structure.
A chimney flashing system commonly includes:
- Base flashing attached at the roof-to-chimney intersection
- Step flashing along the sloped sides
- Counterflashing installed into or over the masonry
- A cricket or saddle on the uphill side when the chimney is wide enough to obstruct water flow
The 2025 Residential Code of New York State calls for a cricket or saddle on the ridge side of a chimney or other penetration more than 30 inches wide, measured perpendicular to the roof slope. The purpose is to split and redirect water around the obstruction. ([codes.iccsafe.org](https://codes.iccsafe.org/content/NYSRC2025P1/chapter-9-roof-assemblies?utm_source=openai))
Mortar joints and masonry can also absorb water. Repointing may be needed when joints are deeply eroded, but coating the entire chimney with an unsuitable waterproofing product can trap moisture and create additional damage. Chimney flashing and masonry repairs should be evaluated as separate but related issues.
How are skylights and roof windows sealed?
Skylights should be sealed with a complete flashing system designed for the specific unit and roof covering. The system may include a sill flashing at the lower edge, step flashing on the sides, and head flashing at the upper edge.
The most common mistakes are:
- Relying on exposed caulk instead of replacing failed flashing
- Installing roofing material too tightly against the skylight frame
- Blocking drainage channels
- Failing to replace damaged underlayment
- Using flashing that does not match the roof pitch or product design
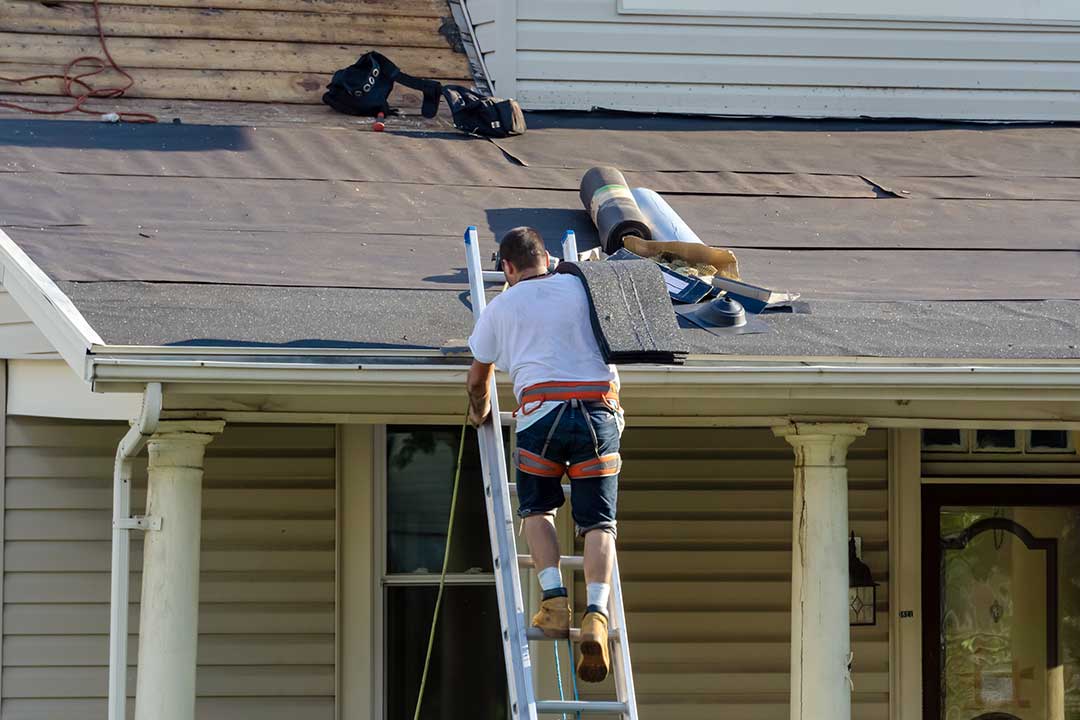
A skylight leak does not always originate at the glass or frame. Water can enter higher on the roof and travel along the underlayment or framing before appearing around the skylight. Interior staining therefore identifies the symptom, not necessarily the entry point.
What should be done around exhaust vents and electrical conduits?
Exhaust vents need both weather protection and proper airflow. A roof cap or flashing assembly should shed water while keeping the duct outlet open. Flexible duct connections, crushed ducts, and uninsulated ducts in cold attic spaces can cause condensation that resembles a roof leak.
Small electrical conduits and equipment supports require compatible flashing or a manufacturer-approved penetration detail. Drilling through metal flashing without sealing the fastener holes correctly can create leaks that appear only during wind-driven rain.
Penetrations should not be sealed with materials that may damage roofing membranes, soften plastics, or react with metal. Compatibility matters, particularly on low-slope roofs and membrane roofing systems.
How can a homeowner inspect a roof penetration safely?
A ground-level inspection can reveal warning signs without walking on the roof. Look for:
- Dark or displaced shingles around a pipe or vent
- Rusted flashing or exposed fastener heads
- Cracked rubber collars
- Loose chimney counterflashing
- Staining on attic sheathing near the penetration
- Damp insulation or musty odors after rain
- Water marks that worsen after snow or wind
Attic inspection is often more useful than looking only at the ceiling. During or shortly after rainfall, use a flashlight to inspect the underside of the roof deck around penetrations. Do not touch wet electrical components, and avoid entering an attic with unstable flooring, poor ventilation, or visible electrical hazards.
Roof access becomes particularly risky during icy conditions, after snowfall, or when shingles are wet. In this climate, temporary repairs made during winter can also fail because many roofing materials become less flexible in cold temperatures.
When does a penetration need replacement instead of resealing?
Replacement is more appropriate when the flashing is rusted, bent, split, poorly sized, or installed beneath the wrong roofing layers. The same applies when the roof covering around the penetration is brittle or when water has damaged the roof deck.
New York code guidance also recognizes that existing flashing, vents, edgings, and similar components may need replacement when they are rusted, damaged, or deteriorated during roofing work. ([dos.ny.gov](https://dos.ny.gov/2024-residential-code-new-york-state-2024-rcnys?utm_source=openai))
A successful repair should correct the water path, not merely cover the visible stain. If the roof deck is soft, the penetration moves when touched, or the leak is near electrical equipment, repair work may involve structural or safety concerns that cannot be resolved with sealant alone.
How long should a properly sealed penetration last?
The service life depends on the roof covering, flashing material, exposure, installation quality, and movement around the penetration. A well-installed metal flashing system can last much longer than an exposed caulk joint, but all penetrations should be checked during routine roof inspections.
After major wind, heavy snow, ice buildup, or roof work, inspect penetrations for displaced materials and new staining. Keeping gutters clear also helps because backed-up water and ice can increase stress around roof details.
The central rule is simple: flash first, overlap materials in the direction of drainage, and use sealant as part of the system rather than as the system itself.